
I receive many questions on how to start a blog on a student budget. Today I thought I would share my top tips and resources for starting your own blog for students – because let’s face it, students don’t have much money to dish out on creating an amazing website. That’s why today I will share how to start a blog on a student budget, based on the experiences I’ve had while building my site.
I started Clear the Air back in April 2017 (happy 3+ years now!) under a different name and it has changed radically since. What once began as a self-reflective site as I graduated high school and moved on to university became a tool for me to educate, inspire and mobilize youth to take climate action. I have invested quite a bit of money into CTA (which I will discuss, because if you really want to make something out of your site…you can’t get something for nothing) and painstaking time trying to figure out branding, web design, plugins and all the other challenges that come with building your site without any background in Internet-y things.
There are SO many things I could share with you about how to start a blog on a student budget. These would also vary depending on what your intention is with a blog, be it to start a business, educate others, or just be a hobby. However, there are a few things that are essential for you to consider, regardless of what your site’s purpose will be.
Without further ado, here are my 5 essential tips for how to start a blog on a student budget. Since there are so many more things I could say (how to get funding, how to create a posting schedule, what to know when customizing your site, etc), perhaps I will write about those in a later post.

1. Choose your niche
Who is your audience, who are you trying to connect with, and what are you trying to connect with them on? This is probably the most important thing to consider. As much as you may want to talk about anything and everything, it can be challenging to retain an audience if you don’t have a niche, or “theme.” For Clear the Air, my target audience is youth ages 12-25 within Canada that seek to make positive change in their lives but lack the resources, knowledge or confidence to do so. Through the platform I educate, inspire and mobilize youth to take climate action. I take complex issues and science and break them down into simple, clear language. While informative my writing style is pretty casual, as if we were engaging in a conversation. There’s nothing youth (like myself) despise more than reading a boring twenty-page academic journal full of jargon and equations. To connect with your audience, you need to think (and write) like them.
I suggest trying to be as specific as possible when selecting your niche. A good question to consider: who are you writing to? Are they people like yourself? If so, consider what websites/blogs/media you gravitate towards, and why. How can you cater your content and message to attract people just like yourself? If they are not like yourself, how will you come across as an “outsider” to your audience, and what are your credentials to talk about these subjects? The better you cater your site and content to your niche, the more recognizable and interesting it will be to your target audience.
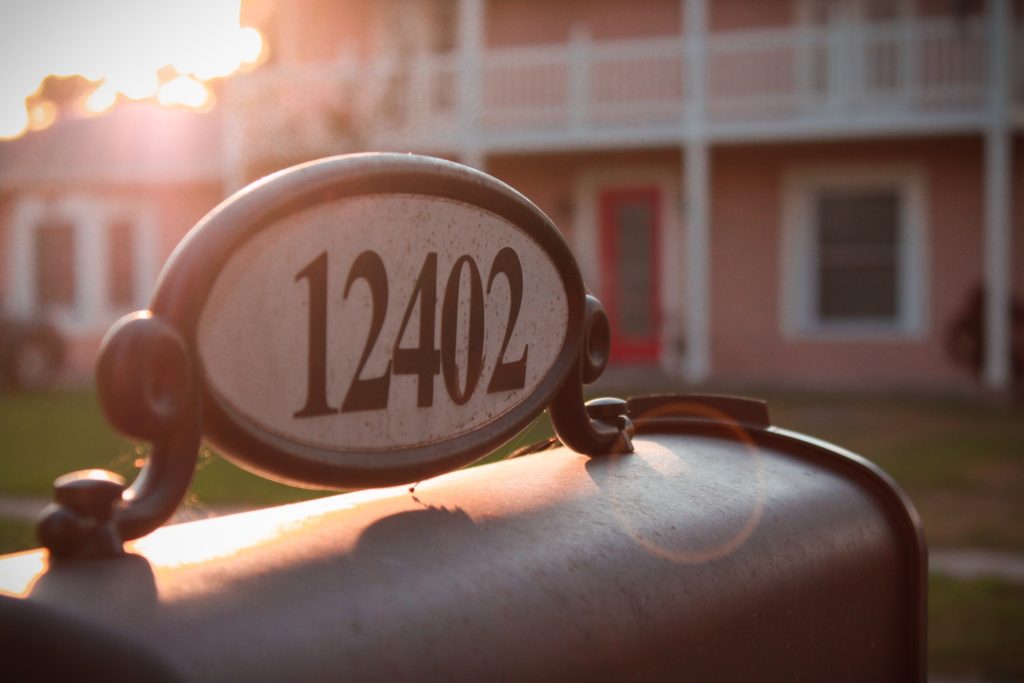
2. your domain
Domains are a bigger deal than you may think – certainly a bigger deal to me now than when I was just starting out with blogging at eighteen. Your domain is the url of your site, or essentially your site identity or address. It can feel like a lot of pressure to choose a domain – I’ve been there, believe me – but that’s because it is so important!
For domains, the simpler the better. My current domain is ctablog.ca and before that is was thisisjennasjourney.com. The more words there are in your url, the easier it is for people to mess up when typing it in (are there spaces, hyphens, etc?), so the less traffic you will get. Granted, I wanted cta.ca or cleartheair.ca, but sadly those urls were taken already. That’s another challenge with choosing a domain: you should have multiple variations made up, because you may not get your first (or second) choice.
Another big factor related to domains is personalization. For instance, my personal domain is ctablog.ca because I have purchased a custom one. If I didn’t, my domain would be ctablog.wordpress.com. In other words, my “site” is called ctablog, but you can very clearly see that it is “owned” by wordpress.com.
If you need to spend money on anything, I strongly suggest spending money on a domain. You may have the most amazing content and graphics in the world, but without a custom domain the legitimacy of your site seriously plummets. It just looks unprofessional. That said, if you are using the site just for fun and don’t care to attract a large audience or professional individuals (employers, sponsors etc) then a free domain is totally fine. If you want to grow your site and add that professional flare, you really need a custom domain. Not only is it more professional, but it helps Google and other search engines find your site and its content better. The easier it is to pull up, the easier it is for audience members to discover your site while using search engines.
Domains aren’t that expensive for the value: usually you pay a one-time fee (around $100-120) for your domain, and then an annual renewal ($15-20). If you decide to change your domain (like I did this past year), you won’t get any money back but you just won’t have to pay the following year’s renewal fee. When it comes to finding a place to purchase a domain, I suggest first doing your research. Some common places to purchase domains include BlueHost, GoDaddy and Domain.com. Look at the prices, the contracts and reviews of customer support. Having a strong customer service reputation is SUPER important, especially if you are new to site development. I don’t know how many times I’ve had to contact my domain host for help. Right now my domain is hosted by GreenGeeks, a cool company that uses renewable energy to power their sites and has AMAZING customer service. They hosted me since I used thisisjennasjourney.com and I didn’t want to switch because they are so great. They also helped me transition to my new domain, and even helped me with hosting issues when they weren’t the ones responsible for it.
Also keep in mind, if you change your domain at any point you will also have to change your branding. For myself, when I switched over to ctablog.ca I had to go back and update all my graphics that had my old url on them. There are still some old graphics lurking around the site…it can be a real pain to update, so make sure you know what you are getting in to!
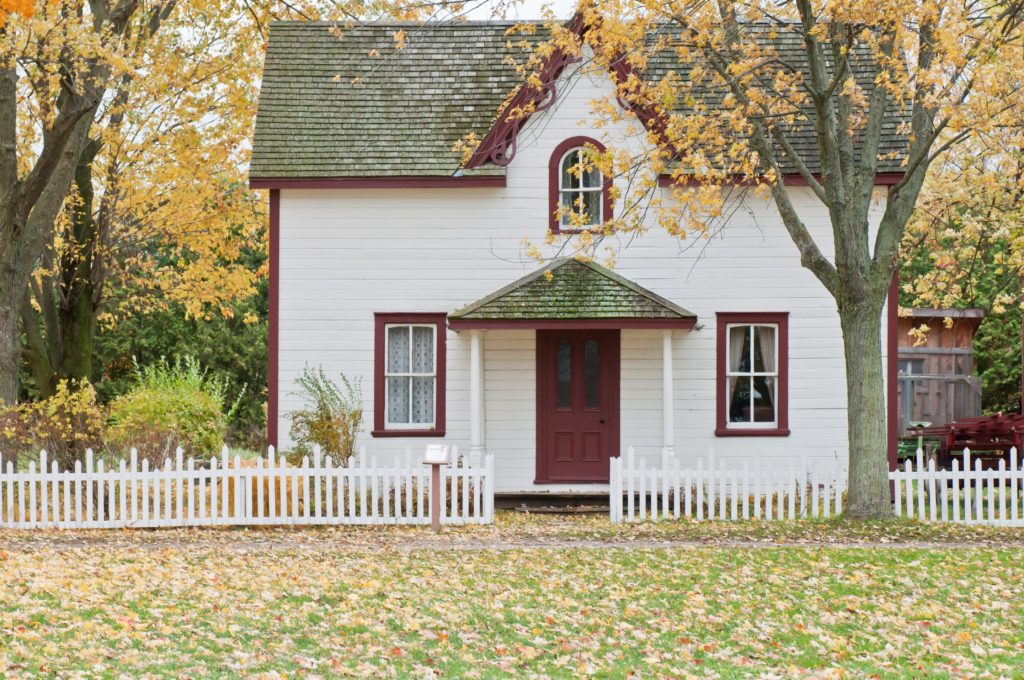
3. Hosting, or your site's "home"
Like your domain, hosting is a critical part of your site in terms of appearance and functionality. A good analogy is that the domain is your address and the host is the house itself. If you don’t have a good hosting service your website may look disorganized and run very poorly. The “host” is essentially the programming behind your site. It allows your site to be up and running on the internet. There’s nothing worse than waiting FOREVER for a site to load, or getting those annoying 400 error messages, or a site taking up so much memory space that your computer feels like it’s going to explode from being overworked. Good host = good, fast and responsive site!
You can definitely use a free hosting service. The downfall with this is that you get less free rein over your site in terms of customization, and less customer support (since you’re not paying, the paid workers will focus on helping the paying customers, right?). Common free web hosting services include WordPress.com, Wix, Weebly and Blogger. Back in the day (circa 2017) I used Blogger. The benefits of these hosts is, of course, you can make a nice-looking site without paying, the customizable features are easy to use (often drag and drop options) and all of the back-end work like coding is hands-off for you. Again though, without your custom domain you’ll have a site like thisisjennasjourney.blogspot.com (yes, that’s what my url was at first…yikes).
If you want more control over your site and really make it unique, you will have to pay for a web hosting service. The downside with free web hosting is that the themes/layouts for your site are pretty basic, so anyone who is also running their site on that web host will likely have a similar layout as you. Investing in a hosting service means you can use more unique themes (the design of your site) and other features you can’t access without paying. I use Bluehost for my hosting service, who also have really great customer service and reasonable prices (I paid $2.75/month, which I chose to pay in one lump for 36 months as $99.00). They are also easily compatible, with WordPress.org (not .com, which is the free version of WordPress!) which is where I customize and design my site.
4. content creation
So now you have your niche and domain. Great! Next step is content creation: think of it like a store. What type of product or service are you going to share on your site? Is it recipes, how-to’s, essay-style posts, reflective pieces, poems? Are you selling anything? Are you connecting your posts to YouTube videos or podcast episodes? There’s a lot to think about!
You can definitely choose one or two styles of content to create or provide variety. I offer educational/action-oriented posts, as well as how-to’s, interviews and podcast episodes. I like having variety because it keeps me from getting bored with content creation, plus it gives my audience a huge selection of content to view! It also keeps me on a schedule because I can say “okay, Tuesdays are blog posts, Fridays are podcast episodes and Saturdays are for DIY videos.” You may have noticed this schedule already. In between those dates I prepare content for the site and social media, while fixing/updating any bugs or plugins on the site.
A VERY important part of capturing and maintaining an audience is content consistency. As a young blog-enthusiast (we’re talking when I was 14/15) I had a list of my favourite blogs and knew from memory when they each released new content. This meant I would faithfully check those sites on the specific days they regularly posted content. When the sites wouldn’t post and didn’t give a heads up, I would be confused and disappointed. If it happened regularly or there was no clear schedule, I lost interest in the site.
This is why you should create a schedule for your content creation and stick with it. While you may have a sudden inspiration and go into a serious writing mode for two weeks, do you think you’ll be able to pump out blog posts every single day for months on end? Especially if you are a student with multiple commitments, this is not realistic with all your other activities. I fell into this trap in my early blogging days, but now I have figured out how to pace myself. The benefit of sharing one blog post per week is that I can stockpile content, so when it is a busy season in life (hello, exam season and travelling) my audience can still reliably receive new content. If you are on summer break or a co-op term, now is a great time to stockpile your content!
5. branding: who are you?
Your site is now up and running and you have a steady content flow. What is now important is to create a brand or “image” for yourself. It’s like your personal style: what do you want to be viewed as online in the blogsphere? In real life I dress like a bohemian earthy hippie. Of course I have a variety of garments that don’t reflect this, but my general style is very environment-y. You want your site to be recognized the same way.
First, you need a logo. You can use simple free logo creators to do this. You can also try making it yourself if you are good with Illustrator (or Canva!) or hire someone to do it for you. Logos can always change and frequently do, so don’t stress about choosing one and sticking with it forever. When I look back at my old logos I cringe. I’ve always used free logo design services, but then I started dipping my toes into Illustrator design. I may pay for a graphic designer to create my logo in the future, but right now I am happy with what I have created (and proud!).
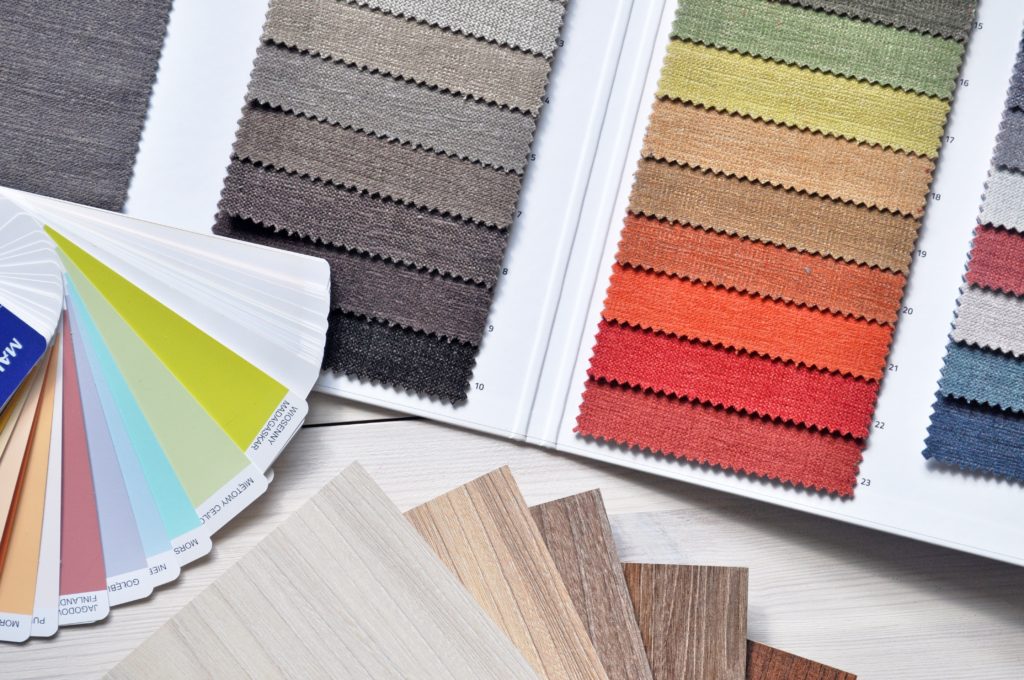
Second, you need a colour pallette. As much as you may want to use a rainbow of colours for graphics, logos, headings, social media etc. this can take away from the professionalism of your site, making it difficult to understand your style. Just like your domain, keep colours simple: choose a few colours of similar saturations that work well together. CTA mainly uses three different shades of blue plus white and black, which I have saved the hex codes (their personal number) so I can keep my branding consistent. You can definitely use different colours, but try to have some connection between them. You can find a pre-made colour pallette on any design software or even searching nice colour combinations up on Google. You can also think of it like seasons: what colours do you see in Spring? Try to avoid combinations that hurt your eye or are overwhelming, like bright yellow and purple or red and green. If you really want, look into the science of colour theory and see how different colours/shades impact mood!
Similar to colours, keep your font collection to a minimum. Choose one or two fonts for headings and graphics, and another for posts. You don’t need 50 fonts on your site in multiple colours. Also try to use fonts that are clear and legible, not crazy penmanship (as pretty as they may look…). The easier yet appealing the font is to read, the more likely someone scrolling online will stop and engage with your graphic.
NExt steps
You now have the knowledge and resources to get started as a student blogger! As we have discussed, you don’t need to spend money to create a blog. That said, the more you invest into the site, the more you will get out of it!
If you are strapped for cash, you can absolutely make a site for free. In order to build a strong reputation and following though, you will need to spend some money. If there is one thing you ABSOLUTELY should spend money on, I believe it should be a custom domain. You can get away with free versions of everything else to some degree, but again your site’s success will only go so far.
So remember, the five fundamental things to consider when starting a student blog on a budget are the following:
- Who is your audience?
- What is your domain?
- Who will host (support) your site?
- What content do you provide, and how often?
- What is your branding?
So what is next? Now is when you should think of more complex factors in site creation, like SEO, theme and plugin design, category creation, social media marketing, and funding. If you want to hear about these topics, please let me know in the comments and I am happy to write a post on this topic.
Have any questions? If you’ve started a blog already, what are your recommended resources or tips? Let me know in the comments! Also let me know if you want more content like this in the future. I am happy to share my experiences to help you create a successful virtual platform.
If you enjoyed this post, make sure to check out these ones:
- Why daily goals are essential for success
- How to be “successful”
- Expectations for the school year
- How to pursue sustainable careers in top companies with Winnie Lam
Lastly, check out Clear the Air on YouTube! I post podcast episodes and sustainable DIY videos here, plus more content in the future.
Until next time.